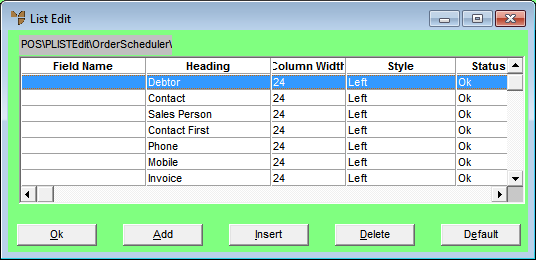
You can customise the Order Scheduler by changing the fields displayed.
Refer to "Accessing the Order Scheduler".
Micronet displays the List Edit screen.
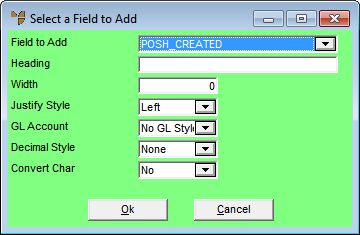
If you selected to add, insert or edit a field, Micronet displays the Select a Field to Add screen.
|
|
Field |
Value |
|---|---|---|
|
|
Field to Add |
Select the field you want to add to the Order Scheduler. |
|
|
Heading |
Micronet displays the field name to be displayed in the Order Scheduler. |
|
|
Width |
Enter the maximum number of characters to be displayed in the field. |
|
|
Justify Style |
Select whether the field should be displayed justified to the Left, Centre or Right. |
|
|
GL Account |
Select ???. Options are:
|
|
Decimal Style |
For numeric fields, select how many decimal places you want displayed. Additional options are:
|
|
|
Convert Char |
|
Micronet redisplays the List Edit screen.
Micronet redisplays the Order Scheduler.